

This article isn’t intended as a one-stop set of instructions for getting started with GitHub actions. But instead, this post will summarize what is involved in deploying plugins/themes to multiple sites using GitHub actions.
The instructions are loosely based on this extremely helpful step-by-step guide on continuous deployments for WordPress.
If the guide I just referenced is so helpful, why did I feel the need to detail the process all over again? For many reasons, but the main being that this guide is specialized or adapted for use on a shared hosting server. In other words, cPanel.
Despite how much hatred is out there for cPanel, I’m still an avid user of it for hobby projects and for sites that don’t need many resources.
Anyway, in addition to wanting to adapt the instructions for cPanel, I did encounter more than a few roadblocks while implementing this workflow and would like to share how I got around them and hopefully save you a couple of hours.
We are going to be working with a delete command, so if you’d like to go ahead and create a backup, that wouldn’t be such a bad idea.
General Debugging Information
To waste as little time as possible, I recommend the following 2 steps:
- Use the
-v(verbose) SSH flag to enable debugging - Test the connection on your local machine
While one or both of these may sound obvious, it’s amazing how much time these two steps can save you.
Host key verification failed

Solution: The solution, in my case, was to switch the signature scheme of my SSH key pair. That is, create a new public and private key pair using an entirely different hashing algorithm.
The site I was using to test this deployment workflow is hosted on Namecheap. And at the time of writing, on some Namecheap hosting plans at least, the latest signature schemes for SSH keys were apparently unsupported on cPanel.
This means an SSH key pair generated using the following command and then imported into cPanel wouldn’t work:
ssh-keygen -t ed25519 -C "your_email@example.com"cPanel required the ssh-rsa signature scheme. This type of keypair can be created using the following command:
ssh-keygen -t rsa -C "your_email@example.com"So I created a new SSH key pair using the ssh-rsa signature scheme and imported the keys into cPanel.
Pro tip: Don’t use a passphrase when creating your SSH key pair. That’s because when your script is running you won’t be there to provide the passphrase when it’s requested.
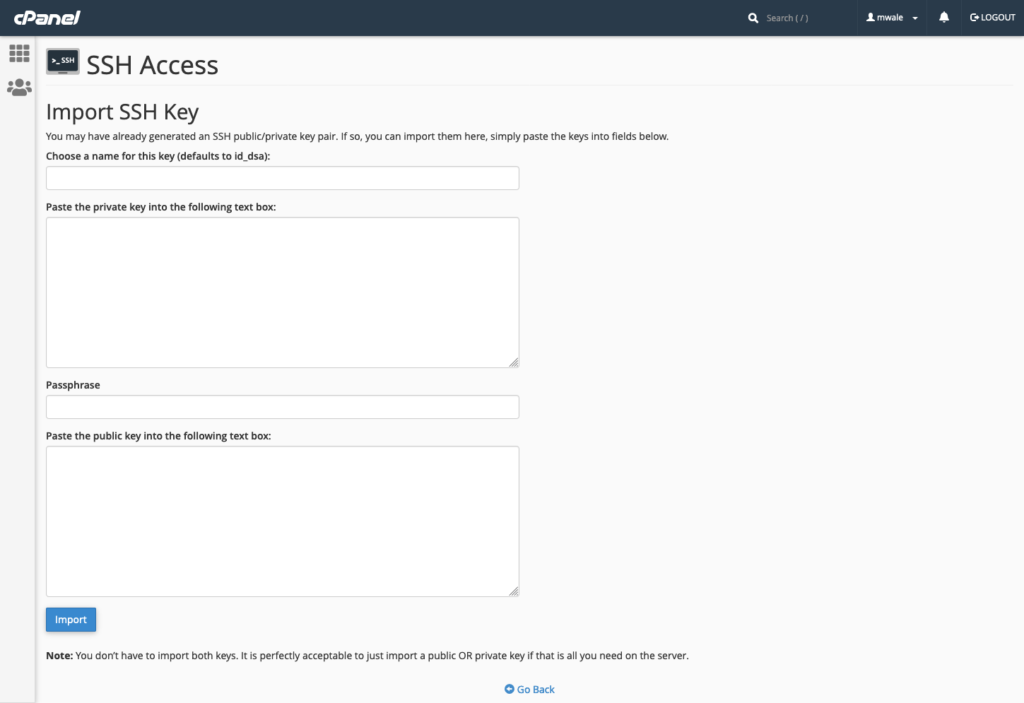
Obviously, after you have created a new keypair, you will need to tell GitHub about it.
Therefore, make sure to add your secret key to GitHub by clicking YourRepo -> Settings -> Secrets -> Actions.
Unfortunately, I still had some trouble after this.
As it turns out, the SHA-1 hash algorithm is deprecated. This quote from the OpenSSH 8.7 release notes may shed some light on what that means:
OpenSSH will disable the ssh-rsa signature scheme by default in the next release. In the SSH protocol, the “ssh-rsa” signature scheme uses the SHA-1 hash algorithm in conjunction with the RSA public key algorithm.
OpenSSH 8.7 release notes
It is now possible[1] to perform chosen-prefix attacks against the SHA-1 algorithm for less than USD$50K.
I know what you’re thinking, only $50K??!! (Just kidding…)
Here’s another insightful quote on the same subject:
RSA keys are not deprecated! Only the
Ikarus.sgssh-rsasignature algorithm is deprecated…
If creating a new SSH key pair didn’t do the trick, then you may find some good advice on Stackoverflow:
SSH-RSA key rejected with message “no mutual signature algorithm”
I initially faced this problem when I was testing the SSH connection on my local machine. As such, I’ll detail how to fix it on both your local computer and GitHub.
Once again, this is a problem that appears thanks to the deprecation of ssh-rsa signature algorithm.
Solution: Allow ssh-rsa in your SSH config.
I didn’t experience this problem on my Windows computer, so I’ll only talk about the solution on Mac. Go to /etc/ssh/ssh_config and add this line at the end of the file:
PubkeyAcceptedKeyTypes +ssh-rsaSuper admin privileges are required to edit that file, so you can use the following command to open it up for editing in Nano:
sudo nano -w /etc/ssh/ssh_configRestart the terminal afterward.
Keep in mind that the above should be considered a “workaround”, the best solution is to generate new keys using more secure algorithms such as ECDSA and ED25519.
If you’re getting this issue when running your workflow, use the –o flag as follows:
-o HostKeyAlgorithms=ssh-rsaDebug1: read_passphrase: can’t open /dev/tty: No such device or address
After checking the permissions of the /dev/tty/ directory it was clear that this wasn’t the cause of the problem.
I found a post that highlights what the “can’t open /dev/tty” error really means. Basically, the read_passphrase reference simply tells you that a dialog was triggered. For example, a dialog asking for your passphrase or a dialog asking you to confirm the fingerprint of the host to which you’re connecting.
Solution: Ensure no host key confirmation is requested by using the -o flag as follows:
-o StrictHostKeyChecking=noThis problem struck me as a little tricky because I was already using the -o flag in my SSH command. But it was nice to learn that’s okay to specify multiple flags of the same type. For example, this is totally fine:
ssh user@example.com -o HostKeyAlgorithms=ssh-rsa -o StrictHostKeyChecking=noError: Process completed with exit code 255
More specifically, the logs showed the error: Permission denied, please try again.
This error can be caused by using an environment that doesn’t suit your workflow requirements.
In my case, ubuntu latest and ubuntu-22.04 wouldn’t cut it because they are more strict in enforcing SSH key behavior. So instead I used Ubuntu-20.4.
More details about GitHub workflows and their syntax can be found on GitHub, including information about GitHub-hosted runners.
To be continued…